Before you start creating shipping methods and entering your courier's shipping rates, it's necessary to define the shipping zones you'll be working with.
To create a new shipping zone, you should first go to the «WooCommerce > Settings > Shipping» section, which you can find in the sidebar menu of your website's admin panel.
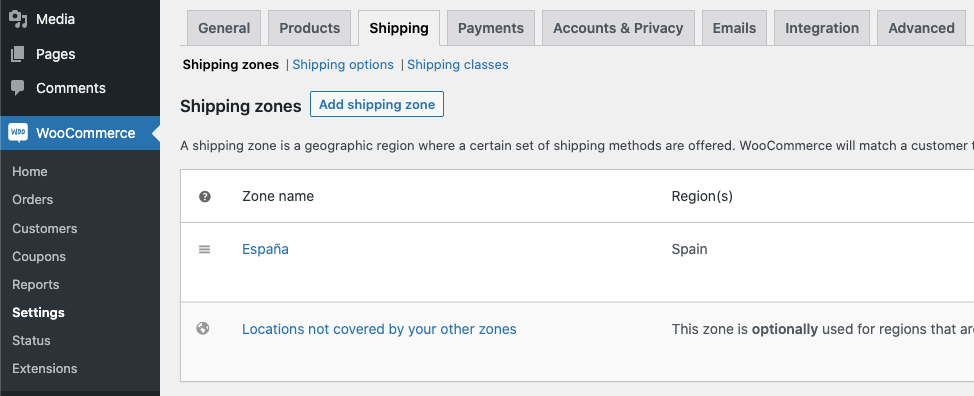
Once inside the «Shipping Zones» section, at the top of the page, you will see a button with the text «Add shipping zone». Click on it to create your first shipping zone. It will take you directly to the configuration of the shipping zone you want to create.
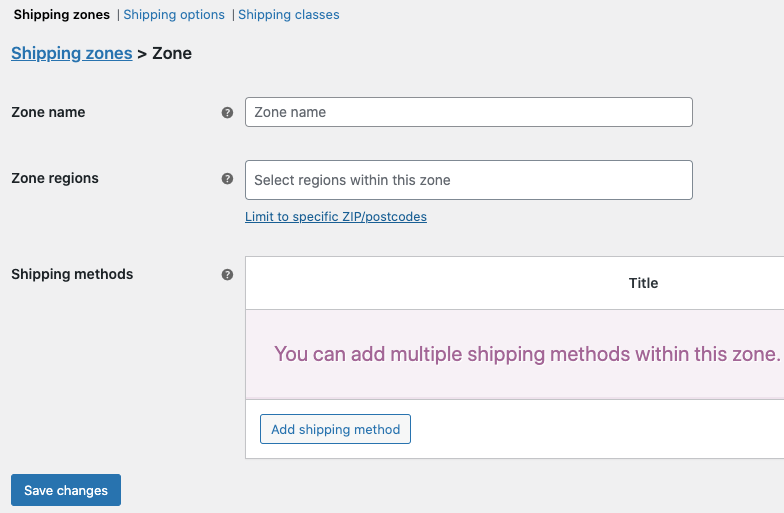
You just need to give it a name to distinguish it from other zones (this name will be for internal use only), select the countries, provinces, or states that will be included in that zone, and save the changes.
Done! You now have your first zone created 🙂
IMPORTANT: To learn more about Shipping Zones and how to configure them correctly, I recommend reading this article: Shipping Zones.